Your browser does not support the audio element.
Asterisk is an open-source telephone solution for individuals, businesses, and governments. It runs over the Internet instead of copper phone lines and is used for voicemail, call recording, interactive voice response, and conference calling.
FreePBX is a free, open-source, web-based application used to manage the Asterisk through a browser. It offers all components required to build a phone system. With FreePBX, you can create an extension, IVRs, set user permissions, firewall, backup and restore, and much more.
In this tutorial, we will show you how to install Asterisk and FreePBX on Ubuntu 20.04.
Prerequisites
- A fresh Ubuntu 20.04
- A root password configured on your server
Step 1 – Create Atlantic.Net Cloud Server
First, log in to your new Ubuntu 20.04 as the operating system with at least 2GB RAM. Connect to your Cloud Server via SSH and log in using the root credentials.
Once you are logged in to your Ubuntu 20.04 server, run the following command to update your base system with the latest available packages.
apt-get update -y
Step 2 – Install Required Dependencies
Before starting, you will need to install all the dependencies required to compile Asterisk on your system. You can install all of them with the following command:
apt-get install unzip git gnupg2 curl libnewt-dev libssl-dev libncurses5-dev subversion libsqlite3-dev build-essential libjansson-dev libxml2-dev uuid-dev subversion -y
Once all the dependencies are installed, you can proceed to compile Asterisk.
Step 3 – Install Asterisk
First, download the latest version of Asterisk from the Asterisk official website using the following command:
wget [http://downloads.asterisk.org/pub/telephony/asterisk/asterisk\-19\-current.tar.gz](http://downloads.asterisk.org/pub/telephony/asterisk/asterisk-19-current.tar.gz)
Once the download is completed, extract the downloaded file with the following command:
tar zxf asterisk-19-current.tar.gz
Next, change the directory to the extracted directory and install required dependencies with the following command:
cd asterisk-19.\*/
contrib/scripts/get\_mp3\_source.sh
contrib/scripts/install\_prereq install
Next, run the following command to configure Asterisk:
./configure
Next, setup the menu options with the following command:
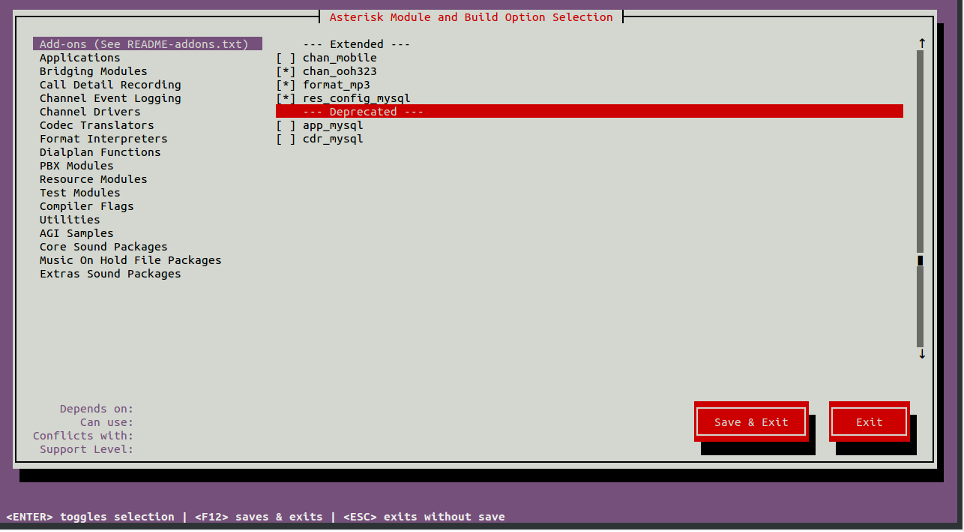
make menuselect
You can use Arrow key to navigate and Enter key to select.
Enable require add-ons:
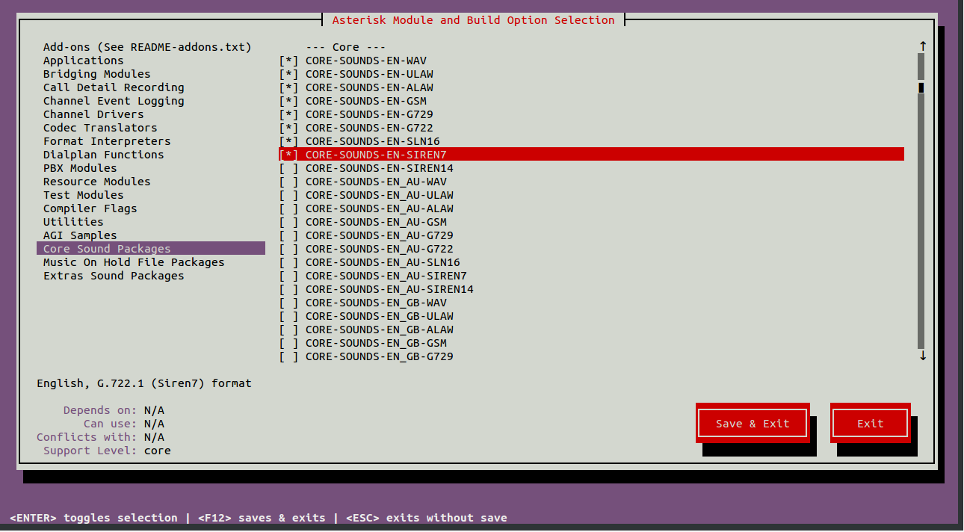
Enable Core Sound Modules
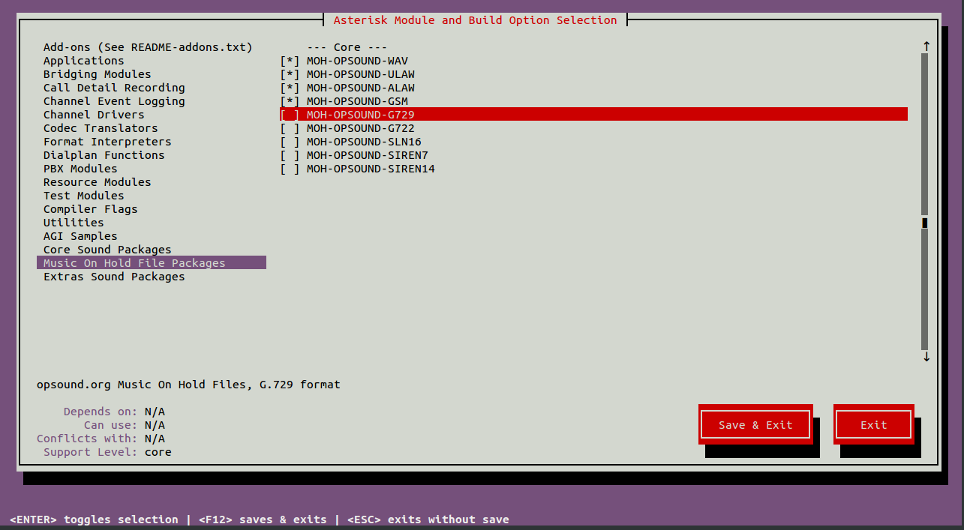
Enable MOH packages
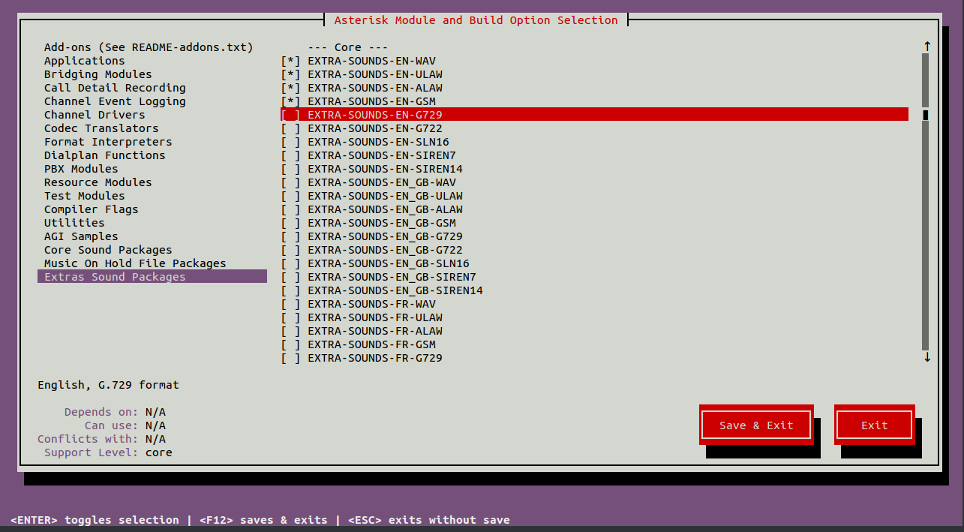
Extra Sound Packages
Once all the components are installed, build Asterisk with the following command:
make -j2
Next, install Asterisk using the following command:
make install
Next, install configs and samples using the following command:
make samples
make config
ldconfig
Step 4 – Configure Asterisk
Next, you will need to create a separate user and group for Asterisk. You can create them with the following command:
groupadd asterisk
useradd -r -d /var/lib/asterisk -g asterisk asterisk
Next, add some required users to the Asterisk group with the following command:
usermod -aG audio,dialout asterisk
Next, set proper permissions and ownership using the following command:
chown -R asterisk.asterisk /etc/asterisk
chown -R asterisk.asterisk /var/{lib,log,spool}/asterisk
chown -R asterisk.asterisk /usr/lib/asterisk
Next, edit the /etc/default/asterisk file and set the asterisk user as a default user:
nano /etc/default/asterisk
Change the following lines:
AST_USER=”asterisk” AST _GROUP=”asterisk”
Save and close the file, then edit the Asterisk default configuration file and define the “run as” user and group:
nano /etc/asterisk/asterisk.conf
Change the following lines:
runuser = asterisk ; The user to run as. rungroup = asterisk ; The group to run as.
Save and close the file, then restart the Asterisk service and enable it to start at system reboot with the following command:
systemctl restart asterisk
systemctl enable asterisk
Next, verify the status of the Asterisk service with the following command:
systemctl status asterisk
In some cases, you should get the following error:
radcli: rc_read_config: rc_read_config: can’t open /etc/radiusclient-ng/radiusclient.conf: No such file or directory
You can resolve this error using the following commands:
sed -i 's";\\\[radius\\\]"\\\[radius\\\]"g' /etc/asterisk/cdr.conf
sed -i 's";radiuscfg => /usr/local/etc/radiusclient-ng/radiusclient.conf"radiuscfg => /etc/radcli/radiusclient.conf"g' /etc/asterisk/cdr.conf
sed -i 's";radiuscfg => /usr/local/etc/radiusclient-ng/radiusclient.conf"radiuscfg => /etc/radcli/radiusclient.conf"g' /etc/asterisk/cel.conf
Next, start the Asterisk service again with the following command:
systemctl start asterisk
Next, connect to the Asterisk command-line interface with the following command:
asterisk -rvv
You should get the following output:
Asterisk 19.6.0, Copyright (C) 1999 - 2022, Sangoma Technologies Corporation and others. Created by Mark Spencer markster@digium.com Asterisk comes with ABSOLUTELY NO WARRANTY; type ‘core show warranty’ for details. This is free software, with components licensed under the GNU General Public License version 2 and other licenses; you are welcome to redistribute it under certain conditions. Type ‘core show license’ for details. ========================================================================= Running as user ‘asterisk’ Running under group ‘asterisk’ Connected to Asterisk 19.6.0 currently running on SERVER (pid = 68160) server*CLI>
Exit out of the CLI type:
Exit
Step 5 – Install FreePBX
FreePBX requires Apache webserver, MariaDB and PHP version 7.4 to be installed in your server. By default, Ubuntu 20.04 ships with PHP version 7.4, so you will need to install the PHP Ondrej repository to your server. You can add it with the following command:
apt-get install software-properties-common –y
add-apt-repository ppa:ondrej/php -y
Next, install Apache, MariaDB and PHP with the following command:
apt-get install apache2 mariadb-server libapache2-mod-php7.4 php7.4 php-pear php7.4-cgi php7.4-common php7.4-curl php7.4-mbstring php7.4-gd php7.4-mysql php7.4-bcmath php7.4-zip php7.4-xml php7.4-imap php7.4-json php7.4-snmp
Once all the packages are installed, download the latest version of FreePBX using the following command:
wget http://mirror.freepbx.org/modules/packages/freepbx/freepbx-15.0-latest.tgz
Once downloaded, extract the downloaded file with the following command:
tar -xvzf freepbx-15.0-latest.tgz
Next, change the directory to the extracted directory and install the Node.js package with the following command:
cd freepbx
apt-get install nodejs -y
Next, set the required permissions with the following command:
./install -n
You should get the following output:
Setting specific permissions… 30690 [============================] Finished setting permissions Generating default configurations… Finished generating default configurations You have successfully installed FreePBX
Next, change Apache user to asterisk and turn on AllowOverride option with the following command:
sed -i 's/^\\(User\\|Group\\).\*/\\1 asterisk/' /etc/apache2/apache2.conf
sed -i 's/AllowOverride None/AllowOverride All/' /etc/apache2/apache2.conf
Next, set upload_max_filesize to php.ini file with the following command:
sed -i 's/\\(^upload\_max\_filesize = \\).\*/\\120M/' /etc/php/7.4/apache2/php.ini
sed -i 's/\\(^upload\_max\_filesize = \\).\*/\\120M/' /etc/php/7.4/cli/php.ini
Next, enable the Apache rewrite module and restart the Apache service with the following command:
a2enmod rewrite
systemctl restart apache2
Step 6- Access FreePBX
Now, open your web browser and access the FreePBX web interface using the URL http://your-server-ip/admin. You will be redirected to the Admin user creation page:
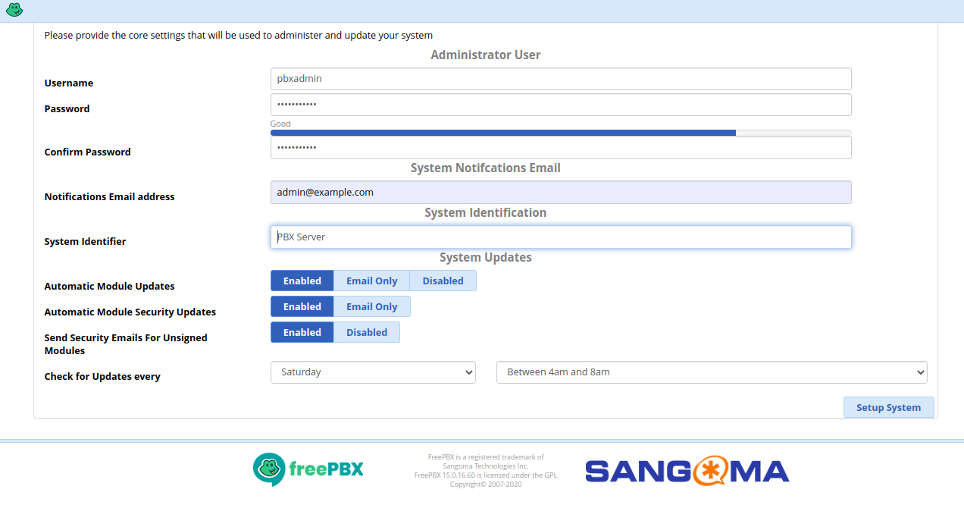
Provide your Admin user details and click on the Setup System button. You should see the following page:
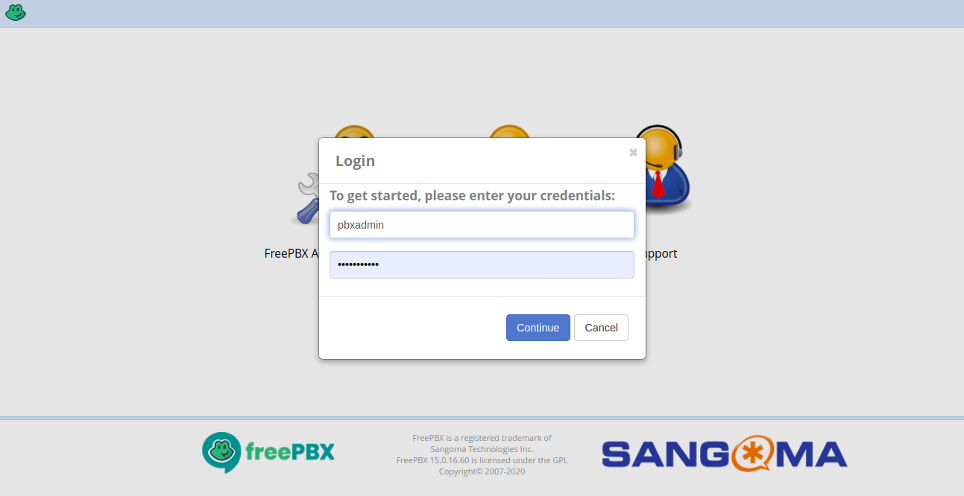
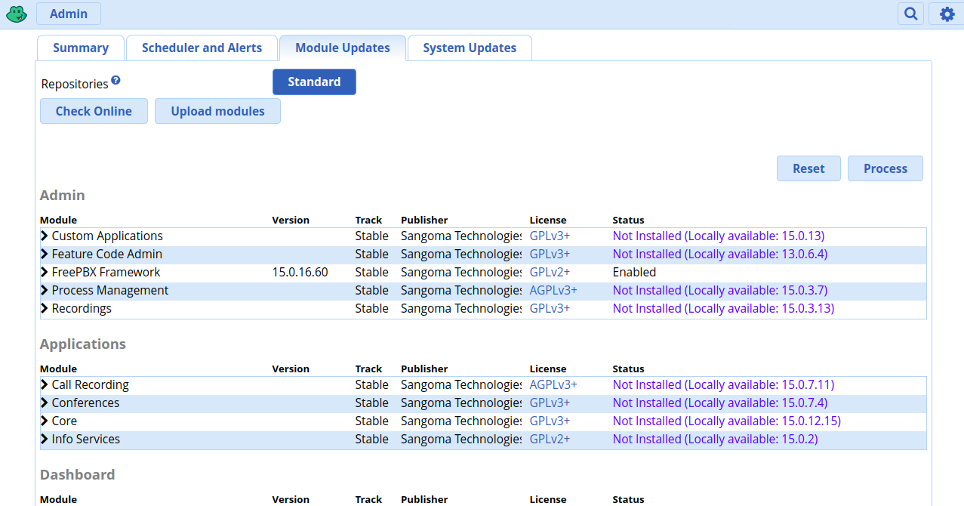
Provide your admin username and password and click on the Continue button. You should see the FreePBX dashboard in the following page:
Conclusion
In the above guide, you learned how to install Asterisk and FreePBX server on Ubuntu 20.04. You can now easily manage your VoIP server from the FreePBX dashboard. Install Asterisk today using your VPS hosting account with Atlantic.Net!